Are you new to the Odoo dashboard but find yourself stuck in its complexities? Wondering how to create and customize Odoo dashboard widgets? Just like you, many small business owners face these challenges. That’s why we have curated this in-depth guide in which we will provide step-by-step instructions for creating and customizing Odoo dashboards.
Later, we will also shed light on the do’s and don’ts while customizing the dashboard. In addition, this blog will contain expert tips for effectively maintaining your Odoo dashboard.
Before proceeding to the steps, we will first discuss what is Odoo and how customizing its dashboard can benefit your business.
What is Odoo?
Odoo is an open suite of business tools that companies can use to handle their operations. This application gives them the flexibility to choose and use those specific tools that they actually require for their business management.
There are more than 800+ modules in Odoo ERP to match the needs of various industries. Some of the most recommended ones are accounting, inventory management, human resources, CRM, sales, manufacturing, dashboard, e-commerce, purchase, etc.
Are you looking for Saas accounting software? Check out this blog.
Why Customizing Odoo Dashboard is Important?
Odoo has a customizable dashboard module that displays all the important functions related to a company’s operations. In the dashboard, you can add customized menus from other modules of Odoo. This feature can help you gain business insights by just looking at the menus.
Moreover, you can also configure the dashboard view option to make it even more organized and feasible. Take a look at the major benefits of customizing Odoo dashboard:
- Personalization: What’s better than a personalized workspace, right? The flexibility Odoo offers to customize the dashboard module can help you display the most relevant information based on your roles and tasks. Thus, it will increase your work efficiency.
- Focus on Key Metrics: Once you install the “Analytic Dashboard & KPI” module in Odoo, you can prioritize key performance indicators (KPIs) that are crucial for your business. If this feature is easily accessible, you can make informed decisions faster.
- Workflow Optimization: Customizing the dashboard helps in optimizing business workflows. You can do so by keeping frequently used tools like reports and data visualizations at the forefront. Consequently, you can reduce the time required to navigate different modules.
- Enhanced Visibility: The dashboard customization option in Odoo supports proactive decision-making, which is very beneficial for any business. When you customize the dashboard to display real-time data and business insights, it will increase the visibility of your business.
- Adaptation to Business Changes: Sometimes it gets very difficult to align with new goals and processes when the business evolves. Customizing the Odoo Dashboard allows businesses to adapt quickly to the needed changes that align with brand-new strategies.
- Efficient Collaboration: One of the major benefits of customizing the Odoo dashboard is that it promotes a collaborative environment. Each team member can customize their dashboards to share relevant information with colleagues. This aspect will ensure that everyone is on the same page.
Understanding the Odoo Dashboard
When you sign in to Odoo.com, you will have to install Odoo “Home Dashboard” to be able to enjoy its benefits. Moreover, it is essential to understand the dashboard’s basics so that you can effectively manage various aspects of your business.
So, let’s break down the 5 key elements of the Odoo dashboard:
- Quick Links: You can access quick links on the Odoo dashboard that allow you to navigate to different modules or sections of the Odoo platform.
- Widgets: Widgets, also known as information blocks, are also available on the Odoo dashboard. These widgets display summaries that are relevant to your business aspects in the form of data or charts. They provide businesses with a quick snapshot of key performance indicators.
- Modules: The Odoo default dashboard contains essential tools known as “Modules”. You will find segregated sections for each Odoo module. Select only those that are relevant to your business. Some examples include:
a) Accounting Module: Widgets in the accounting module show financial summaries, customer invoices, and cash flow charts.
b) Sales Module: In the sales module, widgets display sales performance, leads, or opportunities in the pipeline.
c) Inventory Management Module: Widgets related to inventory showcase stock levels, product categories, or recent stock movements.
d) CRM Module: CRM widgets include customer interactions, upcoming meetings, or a summary of customer feedback.
e) Human Resources Module: HR widgets show employee attendance, leave requests, etc. Overall, it offers a summary of workforce demographics. - Recent Activities: Users can find updates on recent activities within the Odoo system on the dashboard. So that they can quickly glance at the latest changes made to the system.
- User Preferences: One of the most prominent features of the Odoo dashboard is it allows the creation of multiple users. And they can personalize their dashboard layout as per their roles and preferences.
Though there are several key components of Odoo dashboard, here, we have emphasized the most important ones. Now, we will discuss the steps to customize these Odoo dashboard features.
Installing the Odoo Home Dashboard Module
So to manage Odoo Dashboard, first we have to install the “Home Dashboard” module in Odoo. Follow these steps to install the Odoo “Home Dashboard” module:
1. After logging in to odoo.com, click on the “Odoo Apps” list.

(Alt + Text: Click on the “Odoo” button after logging in to Odoo.com)
2. Then find the “Home Dashboard” module in the list. You can also use the “Search” icon available at the top.

(Alt + Text: Search “Home Dashboard” module in the Apps list)
3. Once you find the “Home Dashboard” module, click on “Install” to get this feature in Odoo.

(Alt+Text: Click on “Add to Cart” to install and download the Odoo dashboard module)
Customizing the Odoo Dashboard Layout
After successfully installing the “Home Dashboard” module in Odoo, you can build or design your home page dashboard. The best way to do so is by using widgets. Several widgets in Odoo platform perform different functionalities like radio buttons, status bars, checkboxes, etc.
Widgets play an essential role in improving your client’s Odoo experience.
Some widgets are readily available, however, you can create your custom widgets using the provided “read me” file. The Odoo dashboard contains the “Read me” file at your disposal.
Now, moving on to the steps on how you can add or remove the Odoo in-built widgets. For this,
- Navigate to the “Dashboard Configuration” section after logging in to Odoo.com.
- Click on the “Add Widgets / Remove Widgets” section available on the dashboard configuration page.
- For Adding Widgets
a) Explore the list of available widgets that you can add to the dashboard. You will find some built-in widgets for free provided by sub-modules. For instance, HR Widgets, Project Widgets, etc.
b)Choose the widget you want to add by clicking on it or dragging it to the desired location on the dashboard.
c) Configure the widget (if there is an option) according to your preferences.
d) After you have added or configured the widgets, save your changes to update the dashboard. - For Removing Widgets
a) Find the widget you want to remove from the dashboard.
b) Click on the “Remove/Disable Widget” option.
c) After clicking the button, Odoo system will send an alert to reconfirm, “Do you want to remove the widget”. Click on “Yes”.
d) Once done, save your changes to update the dashboard.
Confused about Odoo widgets?
Seek expert help!
Creating Custom Widgets and Resizing In-Built Widgets
As mentioned above, users can create custom widgets in the home dashboard to extend the functionality of the Odoo system. For crafting a custom widget, developers have to use a Bootstrap grid system called “MuK Grid Snippets”. This module is available within the Odoo platform.
Even for resizing the existing widget, you have to make use of this bootstrap grid system. Let’s take a look at the steps to create and resize widgets in Odoo.
1. To get started, you need to install the main Home Dashboard module (as discussed above).
2. Also, add the “MuK Grid Snippets” module from the “Odoo Apps” list.

(Alt+Text: Download “MuK Grid Snippets” module from the “Odoo Apps” list)
3. First, you have to understand the Bootstrap grid system.
- a) So basically this grid system divides the layout into 12 columns.
- b) Then, you have to place the widget on the grid and define its width by determining how many columns it should span.
4. Now, configure the custom widgets using the Bootstrap grid system.
- a) The number of columns each widget occupies horizontally is the size of the widget.
- b) For example, a widget set to ‘col-md-6’ would take up half of the available width on medium-sized screens.
5. Then, assign the appropriate Bootstrap classes to each widget. It will specify the widget’s desired width and responsiveness.
6. To define the structure of the widget, you have to use the HTML/CSS editor under the “Site” menu of the Odoo website module.
7. After configuring the grid columns for each widget, click on “Preview” to visualize how widgets will appear on the dashboard.
8. Make changes if there is any issue in alignment and spacing between the two widgets.
9. Once the changes have been made, click on “save” to update the changes.
Configuring Dashboard Options
Odoo dashboard contains various configuration settings for the users to personalize according to their preferences. Setting “user preferences” is one such feature that is widely used by most Odoo users.
To understand how you can set different access levels of the Odoo dashboard for many users, look at the following instructions:
1. Go to “Settings” on the Odoo dashboard.
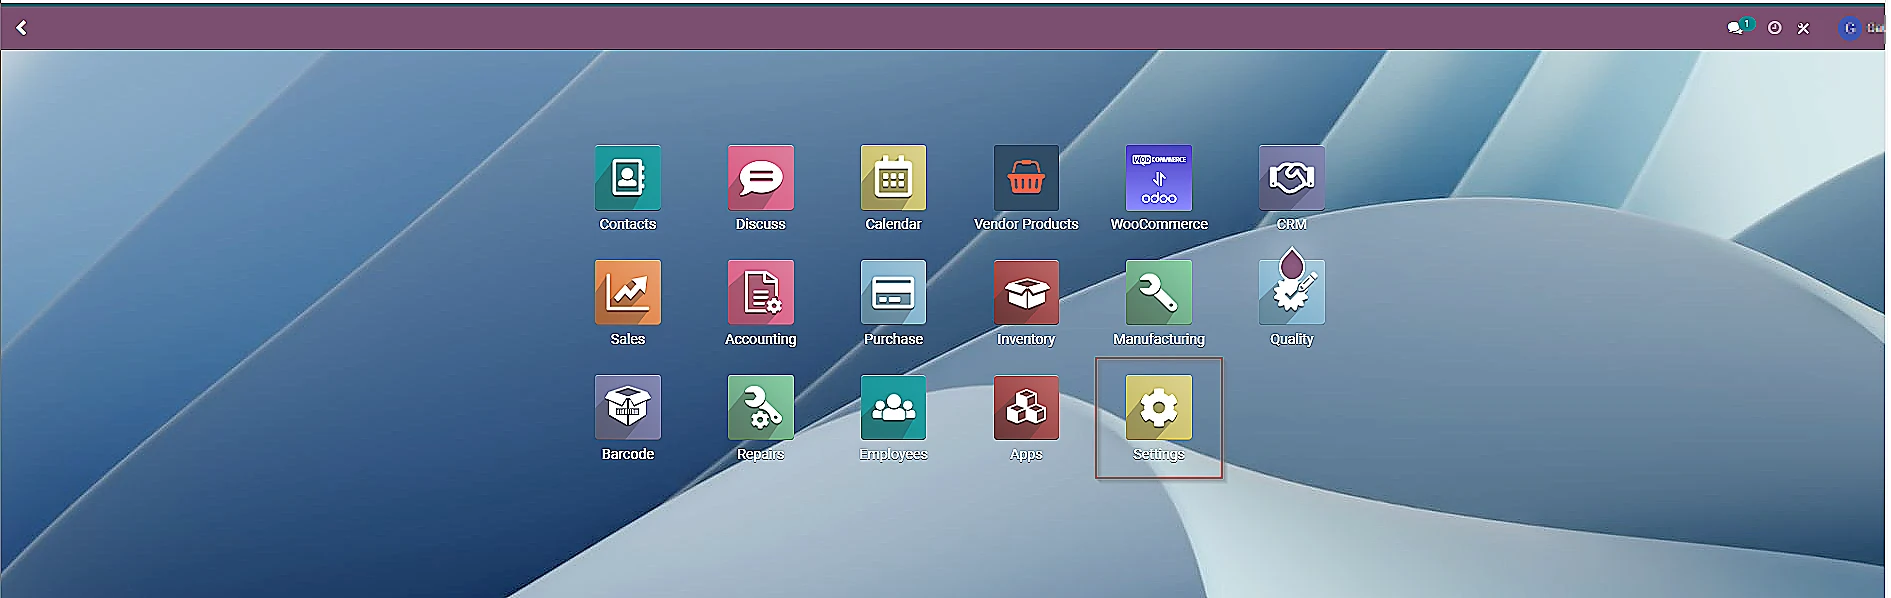
(Alt+Text: Go to “Settings” on the Odoo dashboard)
2. Then, click on “Manage Users”. Here, you can also see how many active users you have.

(Alt+Text: Click on “Manage Users” in Odoo Settings)
3. Click on the “Create” button available in the next window.

(Alt+Text: Click on the “Create” button available in the next window)
4. Fill in the “New User” form with the required information.

(Alt+Text: Fill in the “New User” form with the required information)
5. Under the “Access Rights” tab, you can select the category in each application that the user is allowed to access. Do remember only those lists of applications will be shown here that are installed on the database.

(Alt+Text: Under the “Access Rights” tab, select the category that the user is allowed to access)
6.After filling out the form, click on “Save”. The new user will automatically receive an invitation email. The user should click on the link to accept the invitation and create a new login.
Advanced Customization Techniques in Odoo System
As we have mentioned previously, you can leverage the HTML/CSS Editor feature of Odoo to code the structure of widgets. HTML/CSS Editor is an advanced tool that allows enhanced customization of the web page. Let’s see how can you take advantage of this feature to improve your business’s functionality:
1. The first step involves installing the “Website Builder” module in the Odoo system.

(Alt+Text: Install the “Website Builder” module in the Odoo system)
2. Click on “Site” in the website builder menu.
3. Then, select “HTML / CSS Editor”.

(Alt+Text: Click on “Site” in the website builder menu to select “HTML / CSS Editor” )
4. A code provider window will appear on the screen.
5. Customize the appearance of the website by adding or modifying custom code in HTML, CSS, and JavaScript.

(Alt+Text: Customize the appearance of the website in the code provider window)
6. Here, you can edit every component of your website including widgets.
7. Once you have made the changes, click on the “Save” button available in the top right corner
Best Practices and Tips for Effective Dashboard Customization
There are numerous other ways through which we can customize an Odoo Dashboard. We will save those for another post. However, broadly speaking, to effectively customize the dashboard, there are certain practices you need to follow religiously. Only then, you will make use of dashboard customization to good advantage. Some of the do’s and don’ts are:
Dos of Odoo Dashboard Customization
- Refer to any documentation available in the Home Dashboard module to know more about ways of customizing it.
- Sometimes the widget you want to add or remove has dependencies with other modules. Make sure to meet those dependencies accordingly.
- Ensure that your user account has the necessary permissions to customize the dashboard.
- Design the dashboard keeping responsive principles in mind. For example, Bootstrap’s grid system is responsive. It means it can automatically adjust the layout based on the user’s device screen size.
- Avoid clutter by keeping your dashboard’s design simple. A clean layout can enhance the user experience.
- Update the customization as needed to reflect changing business requirements.
Don’ts of Odoo Dashboard Customization
- Cluttering the dashboard with excessive information as it can decrease the effectiveness of the dashboard.
- Ignoring user suggestions and concerns regarding the customization.
- Neglecting the performance of Odoo dashboard. When dealing with large datasets, it is necessary to optimize the performance indicators to provide your clients with a smooth experience.
Stuck while customizing Odoo dashboard?
Talk to our Odoo experts
Useful Tips for Effective Odoo Dashboard Customization
Following are some tips to customize Odoo dashboard productively:
- Maintain a consistent and professional-looking design across widgets.
- Select widgets that best suit your business requirements.
- Provide users with personalization options as it will increase their engagement.
- Offer training sessions to help your team understand all the Odoo dashboard features.
- Test the dashboard across different browsers to ensure a consistent experience for all.
Final Thoughts
In conclusion, the process of customizing Odoo dashboard is hardly complicated. All you have to do is thoroughly follow the above-mentioned instructions on how to create and customize Odoo dashboard.
Not only this, you can create visually appealing and practical dashboards by incorporating the tips we have mentioned above into your system.
In case you feel stuck, don’t hesitate to contact our Odoo experts. We are a team of professionals that can provide you assistance on effective Odoo business management instantly.